2-Model Quick Start
This section uses two very simple parts to outline the basic steps of 2-Model Machining. A more detailed example using the parts shown in the Overview above is presented in A 2-Model Machining example on page 971.
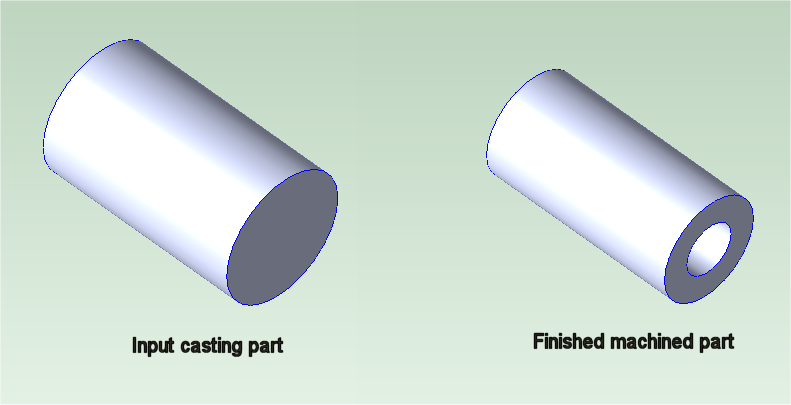
The input part is a simple cast cylinder. The finished part is created from the input part by turning the exterior and boring out the center:
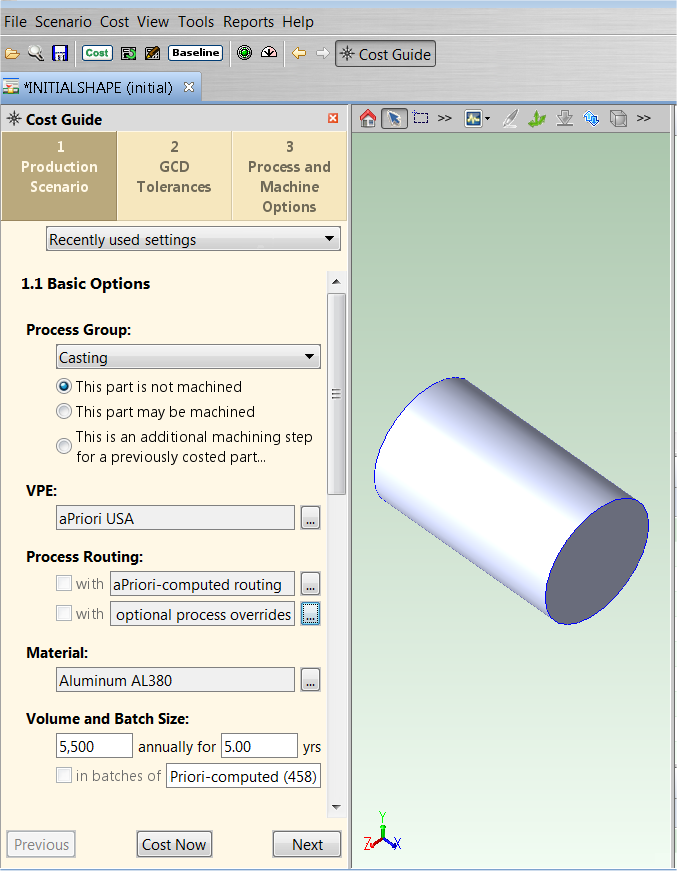
1 Open the CAD file for the source model (the input casting part) and in the Cost Guide assign it to the Casting process group. (If it was a forged part, you would assign it to the Forging process group.) Assume that the defaults for all the other settings are okay and cost it.
2 Open the CAD file for the finished model (the finished machined part), and in the Cost Guide assign it to the 2-Model Machining process group. Use the Search (magnifying glass) button to bring up the Search Tool and specify the source model that you costed in the previous step (see the "Using the Search Tool" section of the aPriori User Guide). Again, assume that the default values for all the other settings are okay for this example and click the Cost Now button.

aPriori compares the source model and the finished model and extracts GCDs that represent the difference between the two models – that is, volumes of material that are assumed to be removed by machining.

By default, the cost from each category in the source scenario is rolled up into the corresponding category of the 2-Model Machining scenario. For example, the material cost in the source scenario is rolled up into the material cost for the 2-Model Machining scenario.
Administrators can override the default behavior by setting the cost model variable rollupSourceCostsInCategories to false. In this case, aPriori rolls up the entire fully burdened cost or entire piece part cost from the source scenario into the material cost of the 2-Model Machining scenario--if the cost mdel variable useSourceModelFBCAsMaterialCost is true (the default), the fully burdened cost is used; otherwise, the piece part cost is used.
Note that you must be CAD-file connected to both the source and finished CAD models in order to extract GCDs. If you change the source scenario specified in the Production Scenario tab of the Cost Guide, both the new source scenario and the current finished scenario should be CAD-file connected; if either is not, aPriori disables Save for the current finished scenario, and any subsequent costing relies on GCDs extracted using the old source scenario.