Collaborate Using Messages and Comments
Comments are the primary mechanism for communicating with team members in aP Workspace. Using the commenting and messaging features enhances communication and collaboration on part details, scenarios, and design guidance.
Create Comments on a Data Field
To create a comment on a specific data field on the part page:
-
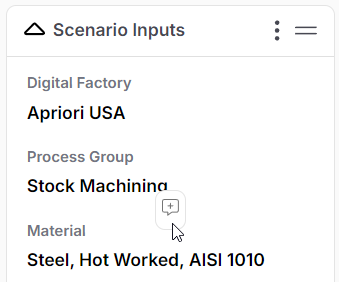
Hover over the data field, for example the Material field in Scenario Inputs.
A speech bubble appears:
-
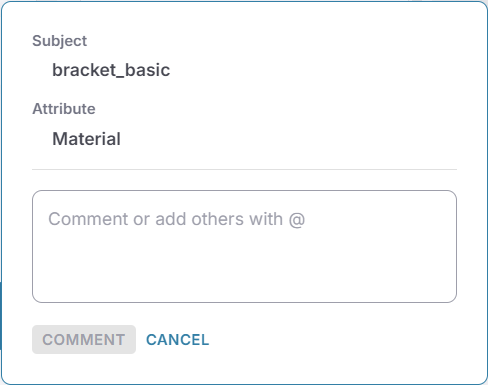
Click the speech bubble.
-
Compose your message or assign the comment to a colleague, making it a task:
-
Click Comment.
Assigned users receive email notifications prompting them to review the comment. aP Workspace sends email notifications under the following conditions:
-
You are assigned to a comment.
-
You are mentioned in a comment.
-
Someone responds to a comment you are assigned to or mentioned in.
-
A part or assembly is shared with you.
Create Comments in the Comments Panel
All comments appear in the Comments panel. From here, you can:
-
Add additional comments.
-
Unassign, delete, or resolve comments.
-
View messages associated with a part.
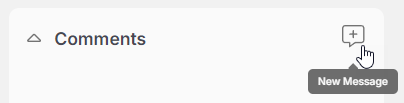
To create a new message in the Comments panel:
-
Click the New Message icon:
-
Optionally, select an attribute (for example, Margin Percent).
-
Type your comment or add others with "@" to assign a task to a team member..
-
Click Comment.
Create Comments on the 3D Model
You can also comment on GCDs in the 3D model:
-
Select a GCD from the Design Guidance window.
-
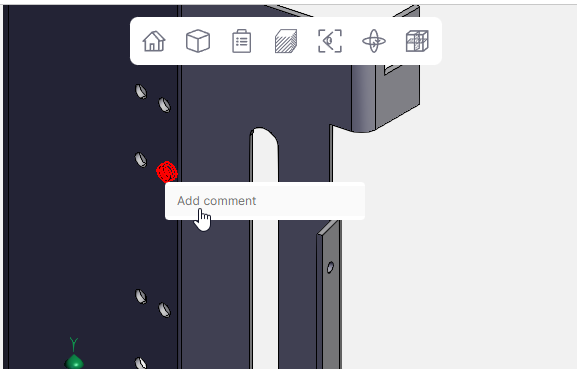
Right-click the GCD in the 3D viewer.
-
Click Add Comment:
-
Compose the comment or add others with "@" to assign a task to a team member.
-
Click Comment.
The commenter's initials persist on the 3D viewer. You can click the initials to show the comment in the Comments pane.