View Assembly Details
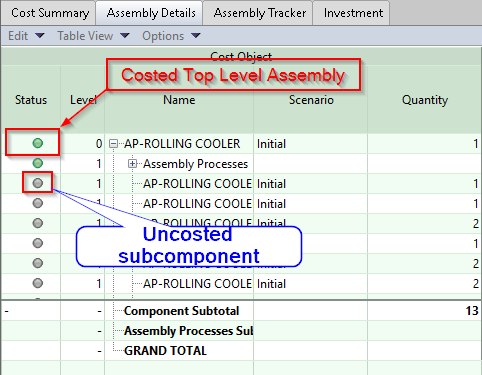
After you analyze (cost) the top level of an assembly, the assembly structure appears in the Assembly Details tab.
Tip: See Part Details and Assembly Details Tabs for general component information.
-
Analyzed sub-components show a green status symbol, non-analyzed sub-components show a grey status symbol.
Note: All sub-components must be analyzed before you can fully analyze the assembly. See Analyze Sub-Components Using the Initialize Option.
-
The bottom of the table shows total costs of all components (Component Subtotal), the total costs of all assembly processes (Assembly Processes Subtotal) and the GRAND TOTAL for the entire assembly.
Note: Use the View Assembly Tracker tab to see a visual summary of assembly costs.
Assembly Details Functions
Assembly Details Options
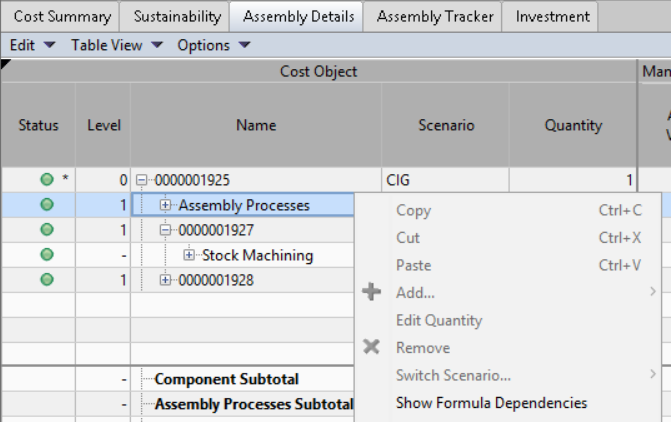
Right-click on a row in the Assembly Details tab to see the options available:
|
Option |
Description |
|---|---|
|
Copy |
(Add Virtual Components to an Assembly only) Basic editing commands for selected virtual components. For example, use Copy to copy a selected subcomponent, then use Paste to insert it into another assembly. |
|
Add |
|
|
Edit Quantity |
(Add Virtual Components to an Assembly only) Edit the quantity for the selected component. |
|
Remove |
(Add Virtual Components to an Assembly only) Remove the selected component form the assembly. |
|
Switch Scenario |
If the currently selected component has more than one scenario, this command allows you to choose between them. See Switch Sub-Component Scenarios. |
|
Show Formula Dependencies |
Show what formulas contribute to the value of a component. See Show Formula Dependencies. |
|
Initialize |
If the selected row has a grey (uncosted) icon, cost the subcomponent. See Analyze Sub-Components Using the Initialize Option. |
|
Open |
Open the selected component in a new tab. |
|
Save |
Commits to the aPriori database any changes to the selected component. |
|
Lock |
Allow or disallow changes to the currently selected part or assembly scenario. See Lock Scenarios in an Assembly. |
|
Ignore |
Remove the selected component from cost calculations and from the display for the assembly. See Ignore Components of an Assembly. |
|
Hide |
Remove the selected component from the display for the assembly (this component is still included in cost calculations). See Hide Components of an Assembly. |
Change Views
The Assembly Details tab supports two main layouts: Tree (indented BOM structure) and List (component list view). You can toggle these views using the Options menu.
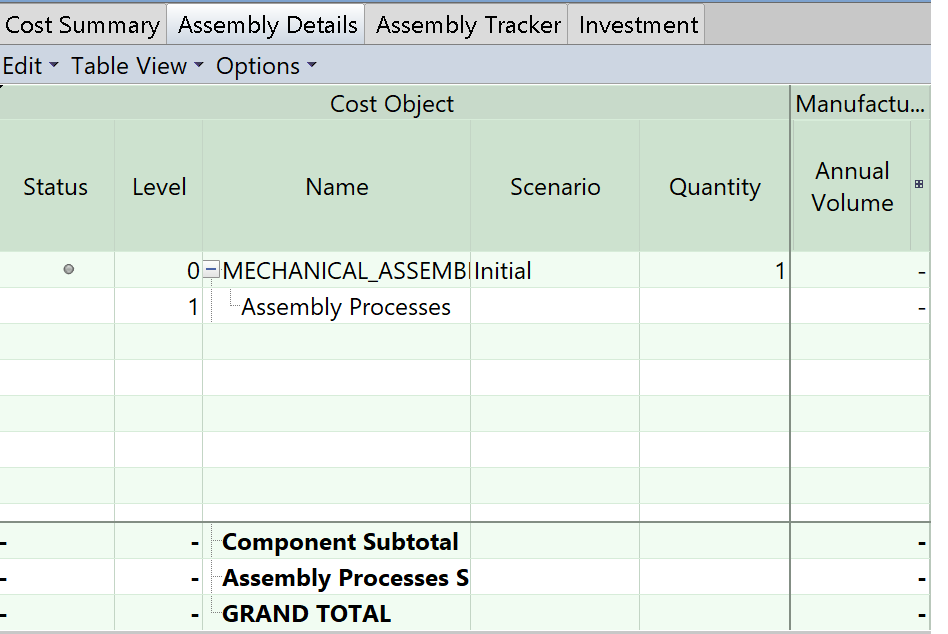
Tree View
This shows a tree structure identical to the assembly structure shown in the CAD application. You can expand and collapse the tree to any level, including assembly processes for each assembly and sub-assembly.
List View
This shows a flattened and sortable list of parts, sub-assemblies, and assembly processes in the top level assembly.
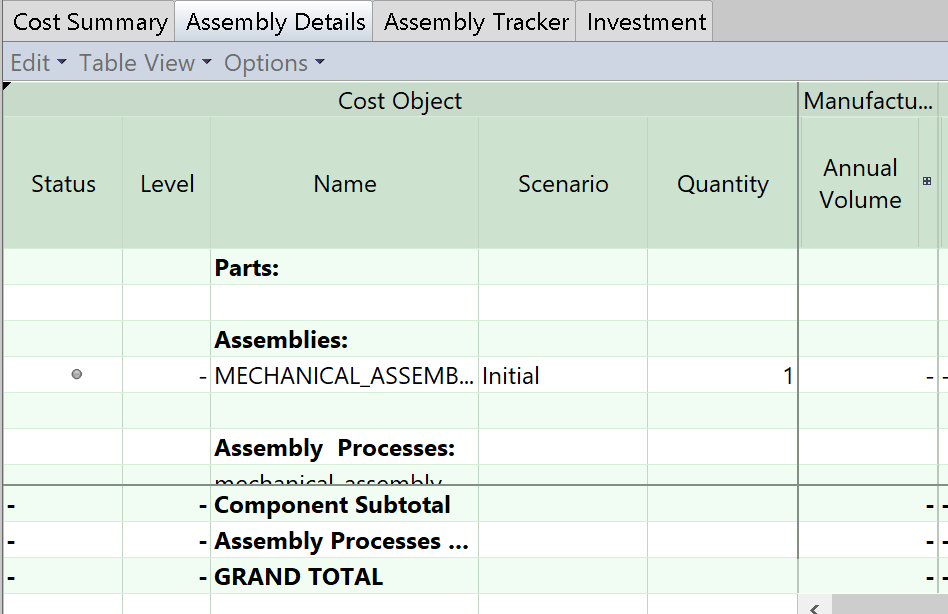
For example, if a part occurs 10 times at 4 different levels in the assembly, it appears 4 times in the Tree view, but only once in the List view with a quantity of 10.
Tip: You can use the List view with Deep Costing, sorting the names into alphabetical order to align the order of display and make it easier to enter production data. See Deep Costing Assemblies.
View Options Menu
Select the Options menu to see other options:
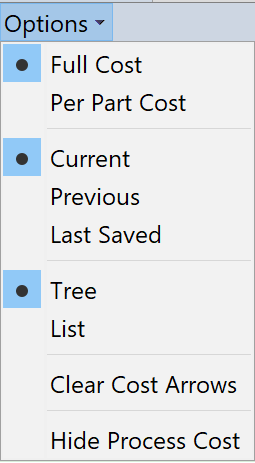
You can:
-
Select to either display the Full Cost of all parts in the assembly, or individual Per Part Costs.
Note: In the ‘Per Part Cost’ mode, the component costs will not add up to the assembly totals as they represent only a single part instead of all parts in the assembly.
-
Select to either display Current Values (costs reflect all inputs selected in current session), Previous Values (costs do not include your last change), or Saved Values (cost values saved in the database) .