Install by Using the Setup Wizard
This example shows how to use the aPriori Agent Setup Wizard for either a PLM or File System integration.
Prerequisites
Before you install an Agent by using the aPriori Agent Setup Wizard, you must complete the prerequisites that apply to your PLM or File System Agent integration. For more information, see Agent Installation Prerequisites.
Launch and Run the aPriori Agent Setup Wizard
- Navigate to and open the installer folder that you created on the machine that you are going to install the Agent to.
-
In the installer folder, double-click the installer application.
The aPriori Agent Setup Wizard window opens.
-
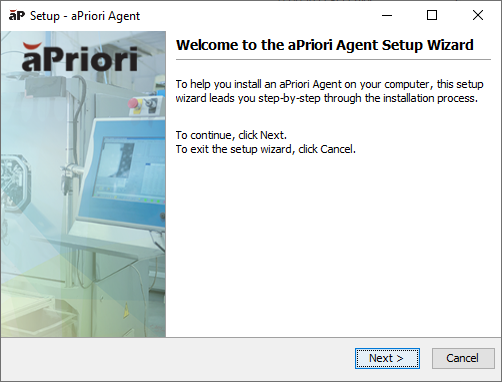
In the Welcome to the aPriori Agent Setup Wizard window, click Next.
-
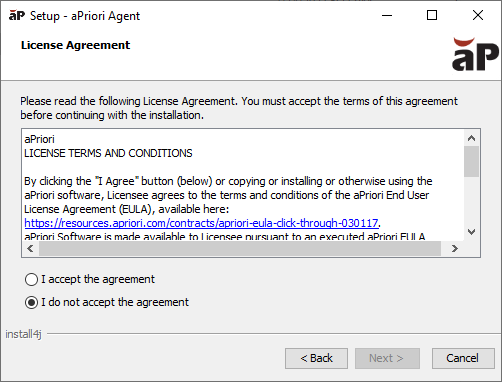
In the License Agreement window select I accept the agreement, and then click Next.
-
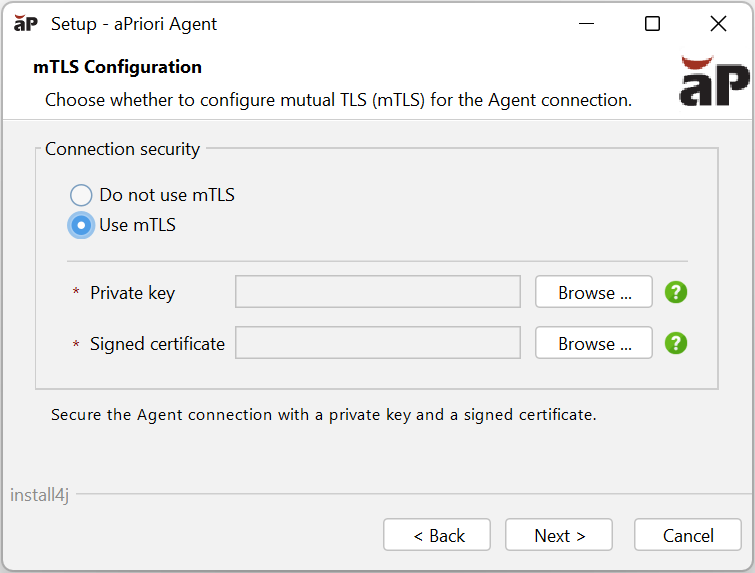
In the mTLS Configuration window, choose one of the following options:
- Do not use mTLS to continue with a standard Agent installation.
-
Use mTLS to configure mutual TLS (mTLS) authentication for the Agent connection.
If you select Use mTLS:
a. In the Private key field, browse to and select the private key file.
b. In the Signed certificate field, browse to and select the signed certificate file.
Click Next.
Note
Select Use mTLS if you have a valid signed certificate provided by aPriori and have configured your connector to Use certificate-based authentication (mTLS) instead of IP allowlisting
-
In the configuration properties window, review the settings.
-
If the settings are not correct, click Cancel then Exit to cancel the installation, update any missing or incorrect property values in
options.ini, then rerun the installer. -
If the settings are correct, click Install.
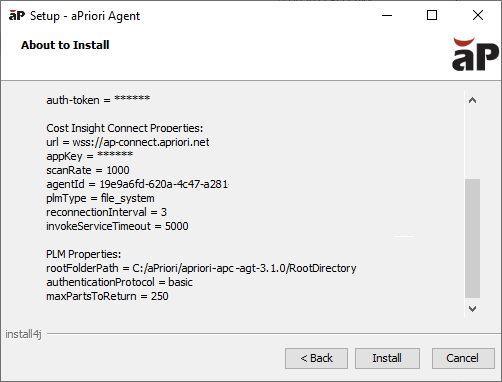
The Agent installs.
-
-
To finalize the installation, in the Completing the aPriori Agent Setup Wizard window, click Finish.
After Agent Installation
After you install the agent:
- If you want to enable compression between the Agent and the associated Connector in aP Connect, navigate to the agent installation folder, open the cic-connection.properties file and set
enableCompressiontotrue. - If you want change the maximum message size, navigate to the agent installation folder, open the cic-connection.properties file and specify a new value, in bytes, for
maxMessageSize. - If the machine or server that you plan to install the Agent to uses a Hypertext Transfer Protocol Secure (HTPS) URL to access the machine or server that contains your PLM or, for a File System integration, the machine that you plan to create the aP Connect Root Folder on, prepare all the information that you need to load your JDK certificates to the Agent machine. For more information, see Importing Java Developer Kit Certificates.
- As required, start or restart the service for the agent. As required, start or restart the service for the agent. For more information, see Stop, Start, or Restart an Agent.
- Test the functionality of the connection between aP Connect, the Agent, and your PLM or File System. For more information, see Confirm Connectivity and Functionality.
- If the Agent is for a File System integration, to populate the associated aP Connect Root Folder, create a Workflow that uses the Connector that is associated with the Agent. For more information, see Create Workflow Folders in the aP Connect Root Folder.