View All Workflows
You can view a list of all existing Workflows on the Schedule tab of the Workflows page.
View Workflows
- Open the Workflows page. In the aP Connect header bar, click Workflows.
-
Open the View History tab. Click Schedule.
The tab contains this table.
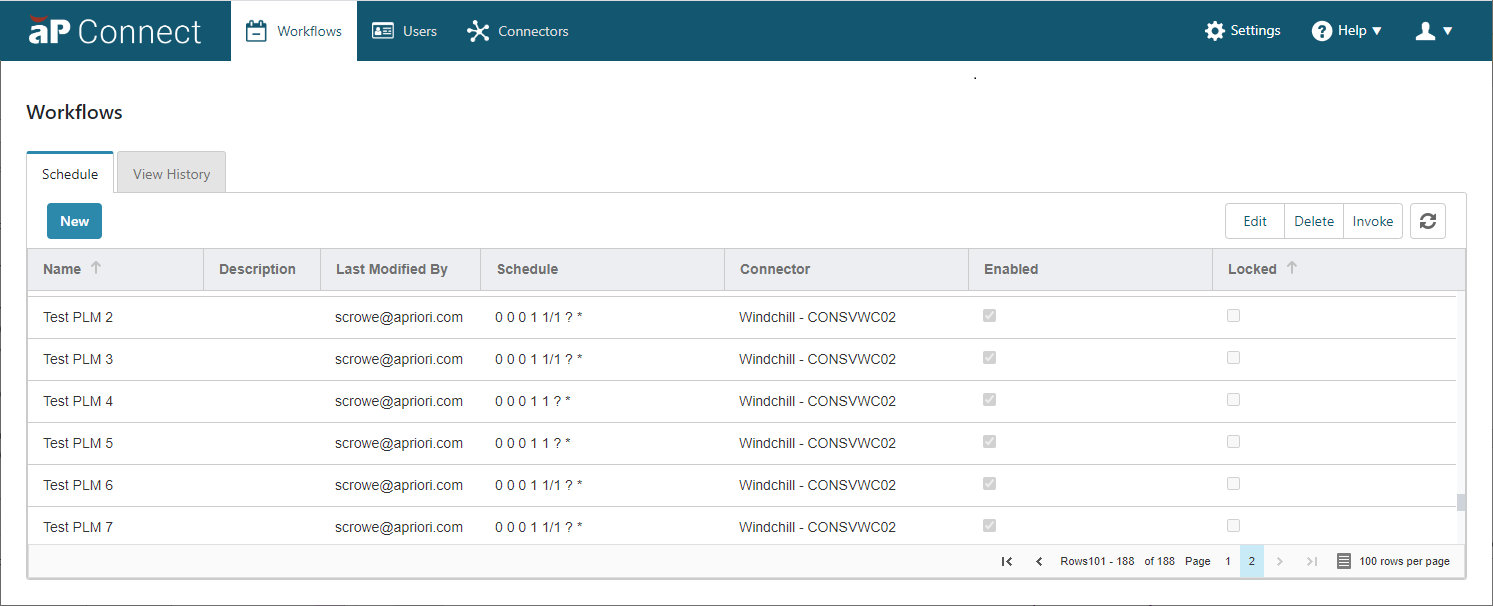
The table on the Schedules tab includes these column headings
- Name – Name of the Workflow as specified in the Workflow Details settings
- Description – Description of the Workflow if specified in the Workflow Details settings
- Last Modified By – Email address of the person that created or last modified the Workflow.
- Schedule – CRON string that represents the active schedule for the Workflow.
- Connector – Connector that is associated with the Workflow as specified in the Workflow details settings
-
Enabled – Selected if the Workflow is enabled to execute in accordance associated schedule. Cleared if the Workflow is disabled.
Note:
You can invoke, that is manually execute, a Workflow regardless of whether it is enabled or disabled.
-
Locked – Selected if the Workflow is currently executing. to execute in accordance associated schedule. Cleared if the Workflow is disabled.
Note:
You can delete a Workflow regardless of whether it is locked or unlocked
You can:
-
Refresh the Workflow table. To refresh the table, click .
-
Sort the rows in the table. To sort the rows, click the right side of any of the column headings.
Note:
When you sort the rows, the sorting is not strictly alphanumeric. The case of the characters in each field affects the sorting order. All rows that contain strings that start with an uppercase character are grouped together, as are all rows that contain strings that start with a lowercase character.
-
Change the order of the column headings by dragging and dropping a column heading.
- Change the width of a column by pulling the edges of the column heading.
- Using the page menu in the lower right corner of the table to navigate to another page or to adjust the table to include 5, 10, 25, 50, or 100 rows per page.