Import CAD Files into aP Design
To import CAD files into aP Design:
-
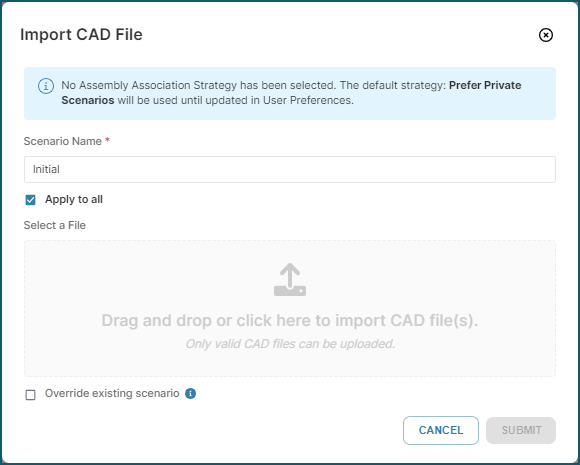
In the aP Design toolbar, click New Scenario:

The Import CAD File dialog opens.
-
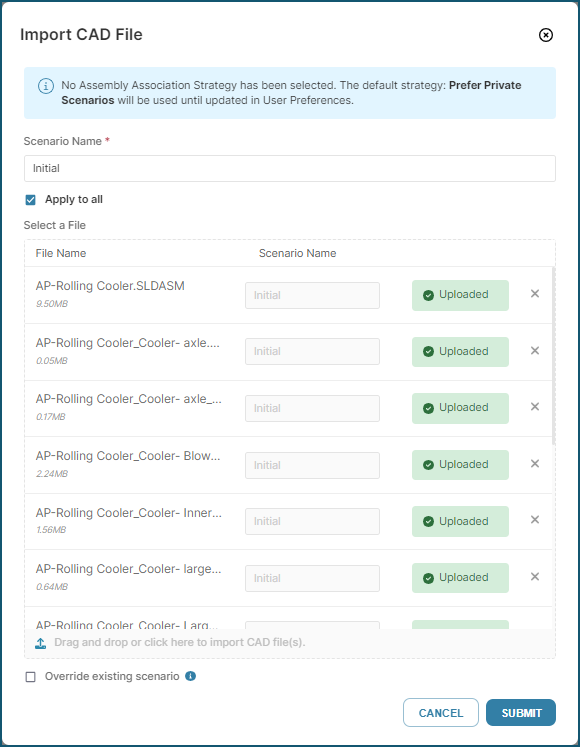
Add selected CAD files to the import region of the Import dialog.
-
In the Import CAD File dialog, you can:
-
Apply the default scenario name to the associated scenario for each component
-
Edit the default scenario name that will be applied to each associated scenario
-
Specify names for the associated scenario for some or all components.
You also have the option to Override existing scenarios.
After you make your selections click Submit.
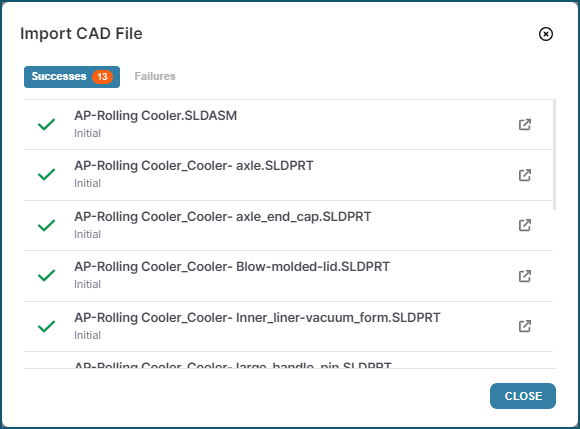
After the file is imported, aP Design displays a message that indicates that the file was imported successfully.
-
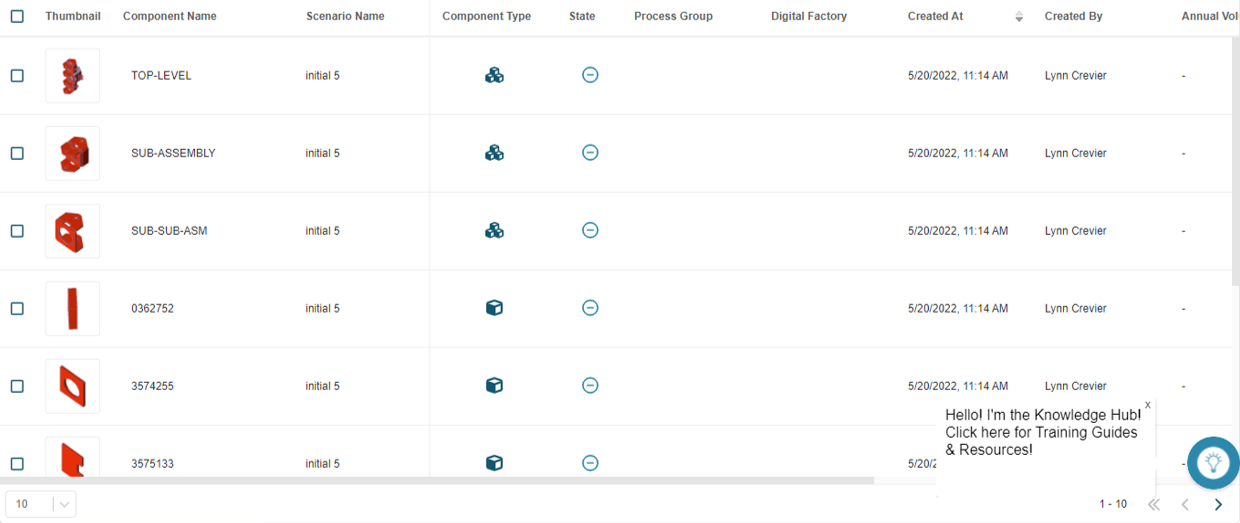
After one or more CAD files are imported, aP Design sets the filter on the *Explore* tab to Recent and displays information about the new component for each CAD file that it is processing.
View Details
The default information includes:
| Name | Description: |
|---|---|
| Thumbnail | Image of the part. Tip: A question mark,, icon indicates that an Explore tab refresh is required before the scenario can be opened to the Evaluate tab |
| Component Name | The unique name of the imported CAD file; by default, this is the name of the imported CAD file. |
| Scenario Name | Name of the scenario. By default, the initial scenario is named Initial. |
| Component Type | Whether the component is a part, ,or an assembly, . Tip: A question mark, , icon indicates that an Explore tab refresh is required before the scenario can be opened to the Evaluate tab |
| State | Current state of the scenario. A Not Analyzed icon, , indicates that the scenario has not yet been analyzed and is ready to be opened to the Evaluate tab. Tip: hover your pointer over the icon in the State column to see a description of the current state:  |
| Created At | Date and time that the scenario was created. Tip: The Recent filter sorts by this field. |
| Created By | Name of the user that created the scenario. |