Log In and Define a Realm
Once Scenario Synchronization has been installed as described in the aPriori Server Installation Guide, you can log in and get to work.
Important:
The account that you use to log in with may have ramifications for what you do throughout your working session. See Heap Size and Large Scenario Counts.
Log in to Scenario Synchronization
You access Scenario Synchronization through your web browser as described in Log in to aP Admin. Once logged in:
- Click Scenario Sync from the Manage pull-down menu.
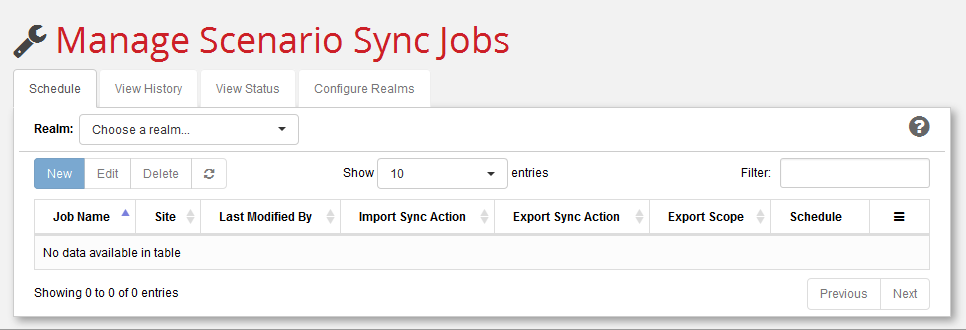
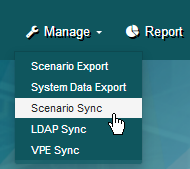 This brings you to the Manage Scenario Sync Jobs page.
Configure the realm repository
In this step you will configure the realm repository that you identified in the previous chapter.
-
Click the Configure Realms tab, followed by Create, to display the Create Sync Realm dialog.

-
In the Realm Name field, enter a descriptive name for this realm.
-
In the Repository Path field, enter the path to the network share where this realm should be created. You should generally avoid specifying mapped drives and instead use UNC (Universal Naming Convention) paths. For example. use "
\\corphq\common\sync_realms\realm01" not "K:\sync_realms\realm01" Mapped drives are typically not accessible to Windows services (such as aPriori Tomcat and aserver) without additional configuration.Note:
Relative paths are not supported. Always specify a complete, absolute repository path for your realms.
-
In the Security Key field, specify a secure string that will be shared with every other site that needs to join this realm. Remote sites will need to enter this Security Key when they join this realm.
Note:
The administrator who installed Scenario Synchronization must also ensure that a valid "Global Key" has been specified for the entire site. See the "Updating the security Global Key" section of the Server Installation Guide for more information. Sites must correctly share both the Global Key and the Security Key to be able to access another site's data. You must also ensure that all Realm Repository sites share the same license schema.
-
The End Point field provides the opportunity to override the value used by remote sites in a Scenario Synchronization realm to communicate with your site. The default value for this “endpoint” is constructed by Scenario Synchronization, based on the
apriori.ws.base.urlsetting that was specified by the administrator who installed Enterprise Platform/aP Admin. This automatically-calculated default value is what you see in this field the first time you open theCreate Sync Realmdialog box. Adjust the value if necessary. For example, changing “localhost” to an IP address, or changing the port number.Note:
The endpoint cannot be changed via the UI after creation and after joining. If you need to edit this value in the future, you do so by going to each site folder in the realm repository and editing the “endpoint” file. For example:
<realm>/site/Site1/endpoint -
Click Create when done. The new realm appears in the list of realms as shown below. Note that the site name column displays the value as defined in the
sync.site.nameproperty defined at installation time.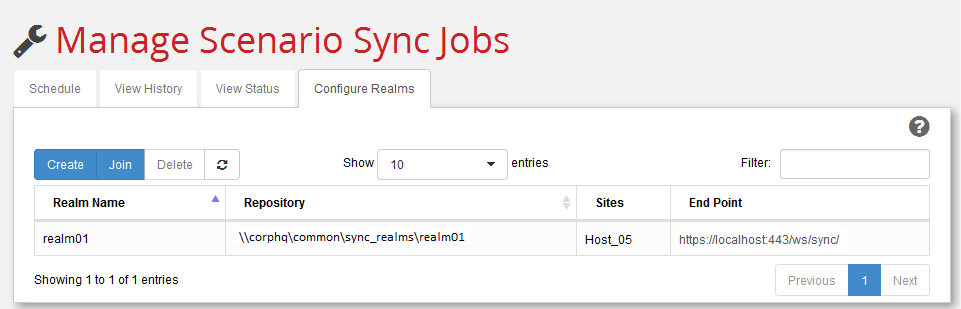
Have other sites join the realm
Now that this realm has been defined, other sites running the same versions of aPriori and Scenario Synchronization can join it so that data can be synchronized between realm members.
- At another site which has access to the same network share, log in to Scenario Synchronization as described above and click the Configure Realms tab.
- This time click Join instead of Create.
- In the Join Sync Realm dialog, enter the same information that was entered at the first site to create the realm. All sites must point to the same directory. Assuming that you are using UNC paths that work at all sites, these fields must match exactly what was entered when the realm was created.
-
Click Join. The realm is now available for synchronizing data.
Note:
If a new remote site joins a realm that you are managing in an open session, you must refresh the Schedule tab before you can view it.