Uploading Files
You can upload files from your local file system to your Temporary Files folder using either of these methods:
- Drag and drop files.
- Use the Upload Files link.
To use either method, follow these steps:
-
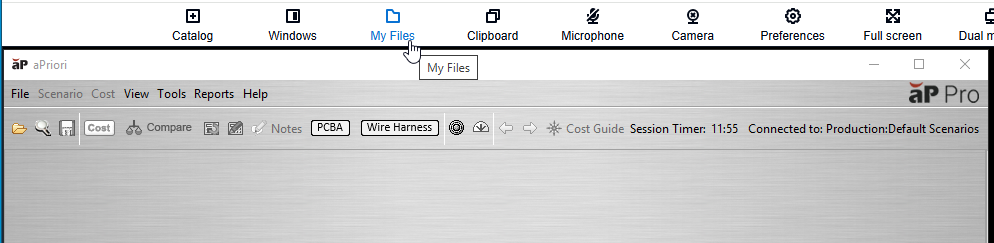
In the AppStream toolbar, click the My Files icon,
 .
.
-
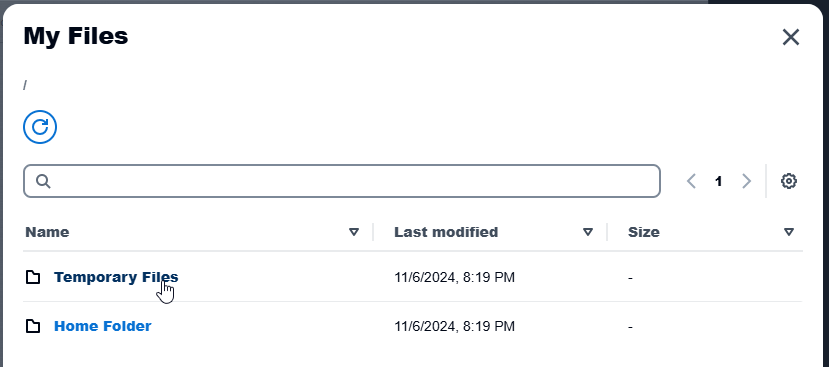
Open your Temporary Files folder or navigate to and open the folder under your Temporary Files folder that you want to upload a file to.
Note:
Files in the Temporary Files folder are deleted at the end of an AppStream session, but once a CAD file is first costed, it persists in a cloud storage container and its associated scenarios remain CAD-connected.
Note:
You can also upload files to the Home Folder, but files in the Home Folder are subjected to automatic background synchronization (which allows them to persist across AppStream sessions), The high computational cost of automatic background synchronization can slow performance significantly during costing. Therefore, the Temporary Files directory is the preferred directory for importing CAD files to aP Pro in the Cloud.
-
Either drag and drop, or browse to and select, the file that you want to upload:
To drag and drop:
-
In Windows File Explorer, navigate to the file that you want to upload
-
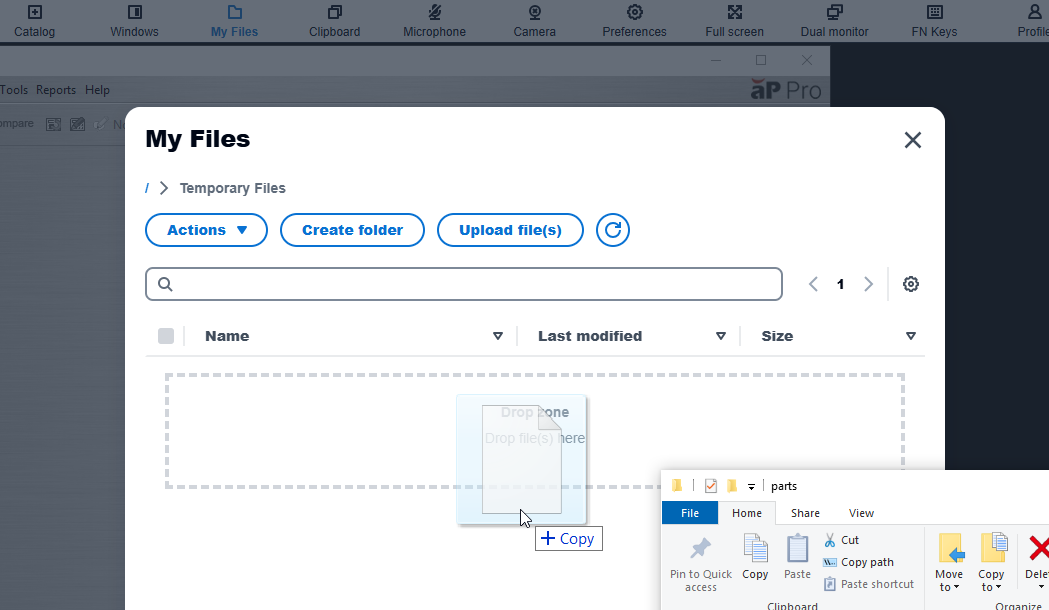
Drag the file from your desktop or from Windows File Explorer to the My Files screen:
To browse to and select:
-
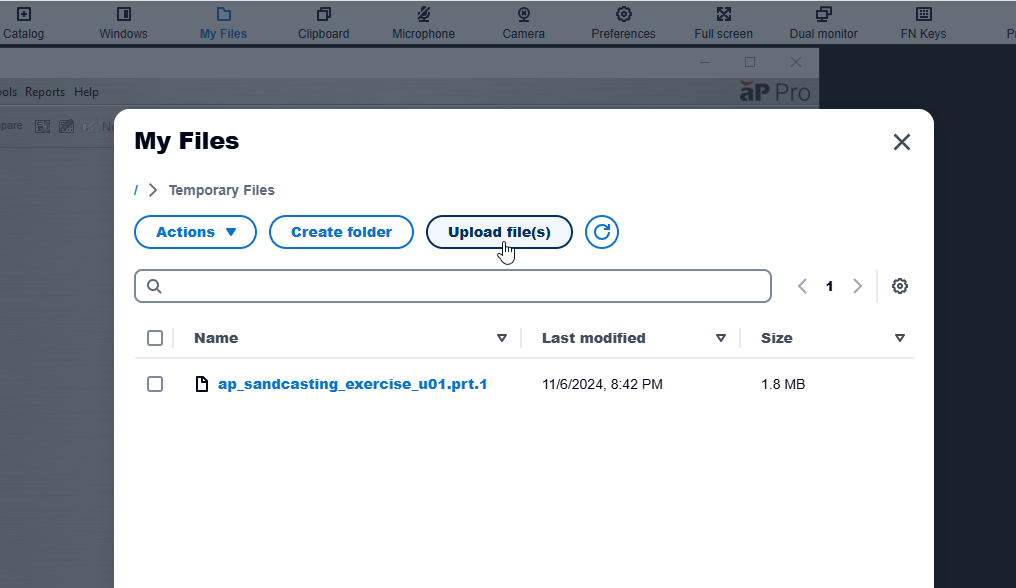
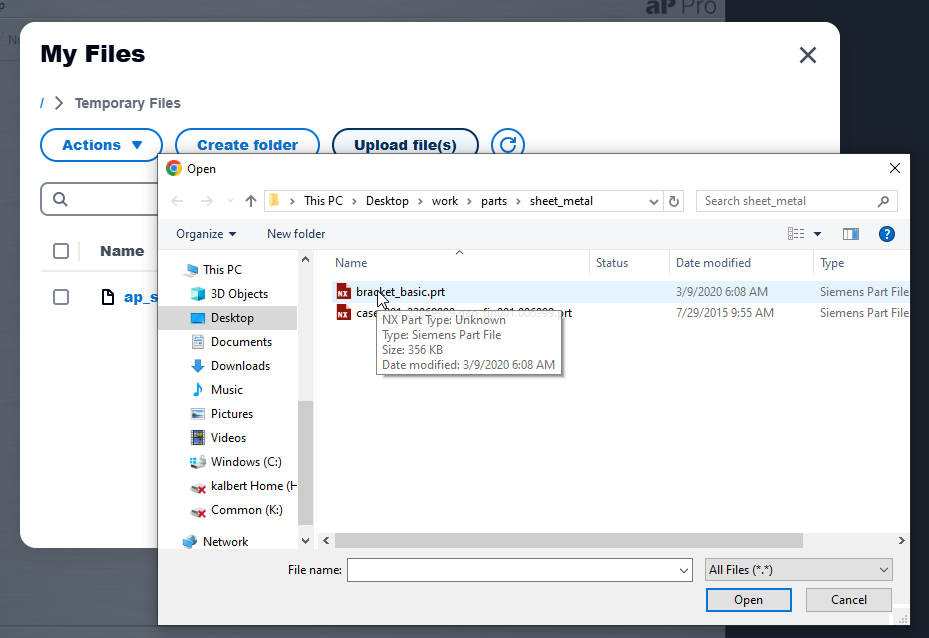
Click Upload Files
-
From the Open window, browse to the folder that contains the file that you want to upload, select the file and click Open.
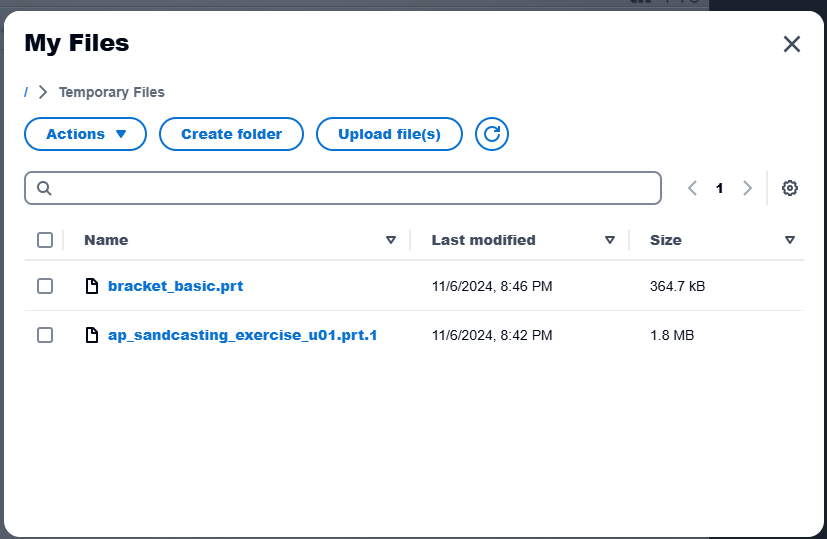
The file appears in the target folder of your Temporary Files folder:
-