Exporting and importing custom attributes
You can export custom attributes from and import custom attributes into deployments. This is useful for customers who wish to define custom attributes in a test environment and then port them into a production environment when they have been finalized.
Exporting custom attributes from a deployment
- Select File > Export > User Defined Attribute Data from the aPriori System Administrator menu bar to display the Export User Defined Attribute Data dialog.
- Specify a file name and folder for the exported attributes and click Save.
Importing site variables into a deployment
- Select File > Import > User Defined Attribute Data from the aPriori System Administrator menu bar to display the Import User Defined Attribute Data dialog.
-
Select an Import Mode: Remove (default) removes all existing UDAs in your deployment and replaces them with the imported ones; Add preserves the existing UDAs in your deployment and supplements them with the imported ones.
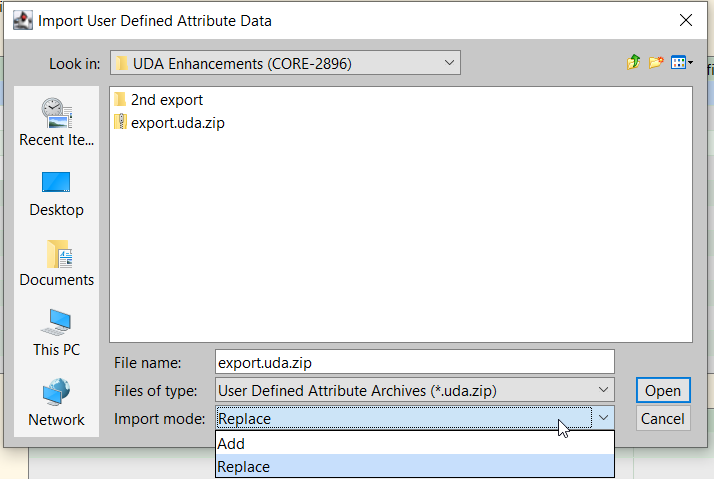
-
Specify the
uda.zipfile to import and click Open.
Note:
In Add mode, if a UDA in the imported file has the same Name as a UDA that already exists in the deployment, it will not be imported.
Note:
After you import UDAs, aPriori recommends that you check the Dialog Views screen in the System Administrator module to confirm that both new and existing UDAs are displayed in the Cost Guide and Scenario Search dialog as desired.