Cost a PCB
Tip:
See the Cost Model Guide > PCB documentation for more details of the PCB Process Group.
PCB Cost Process Overview
Upload CAD file
Upload your Gerber file into aPriori:
-
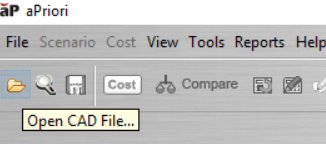
Select the Open CAD File icon:
-
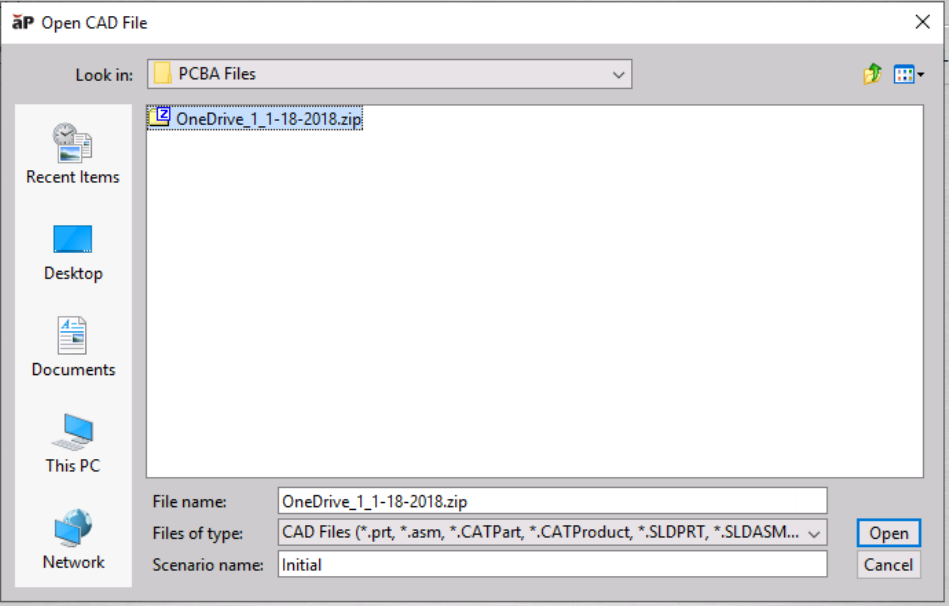
When prompted, select the source folder containing your Gerber files to upload:
-
Click Open to open this file.
Set Inputs Using Cost Guide
-
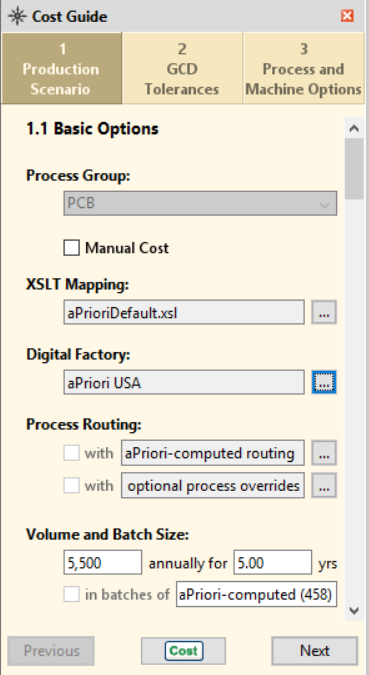
Use the Cost Guide to define inputs for your PCB (see Analyze Components with the Cost Guide):
-
Ensure the Process Group is set to PCB, and set other inputs such as Digital Factory and Annual volumes accordingly.
- Click Cost to cost the PCB.
Review Part Summary Information
To review if your previous assumptions regarding the PCB aligns to those outlined by aPriori, it is good practice to review and confirm the information in the Part Summary tab.
Review Material Information
Within the Part Summary under Material Information, you can see a Stock Size panel and also a percentage representing utilization:
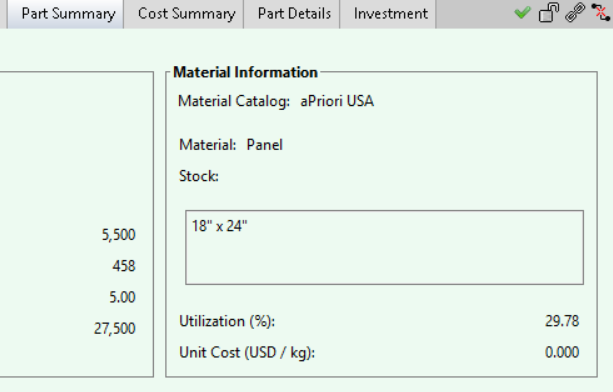
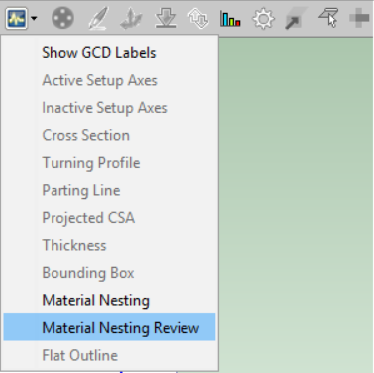
To view this information in a visual, navigate to the Analysis icon and select Material Nesting Review.
This shows the Material Nesting window:
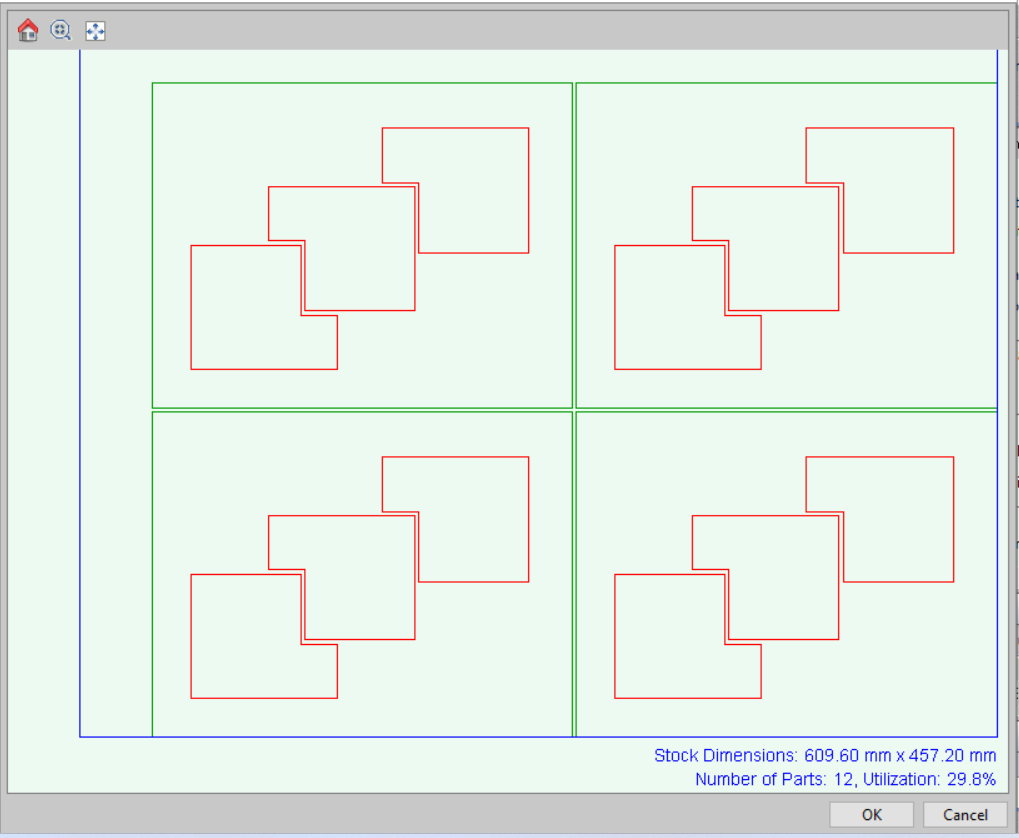
You may use this information to alter your design - for example, to increase utilization percentages.
Review GCDs
Tip:
See Edit Geometric Cost Drivers for more details.
Use the Geometric Cost Drivers section to review all aspects which are considered as cost drivers to the part, and make changes if needed.
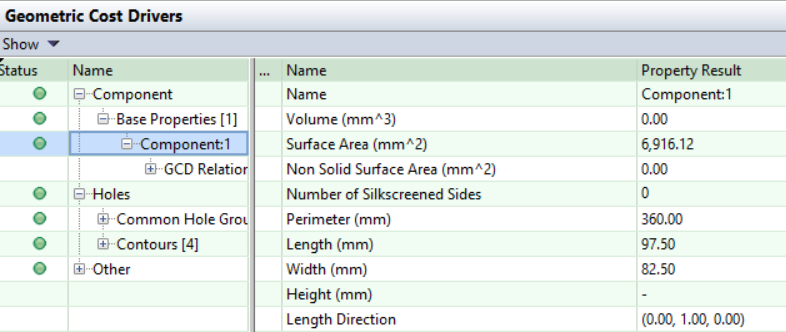
Items with a pencil icon can be edited; for example, you can edit the Number of Silkscreened Sides value, selecting a new value in the dropdown:

Click Cost again to capture cost results based on these changes.
Review Manufacturing Process Information
Tip:
See Review Manufacturing Process Information for more details.
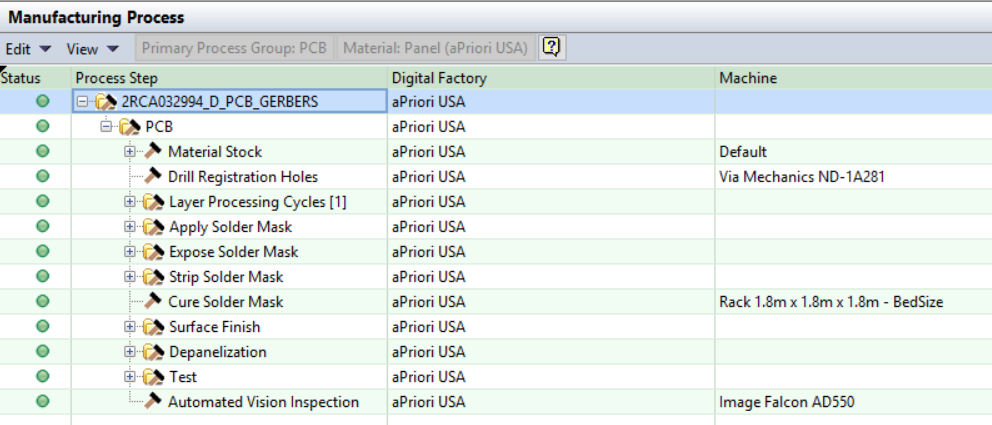
The PCB element shows a list of process steps, aligning with that of the Process Routing area (see Edit a Process Routing) where you can identify the full sequence of processes required to manufacture this PCB board:
Tip:
You can track overrides made in the Cost Overrides Summary dialog.
Review other information
You can review other analysis results after costing your PCB, using standard aP Pro functions, for example:
- Use the Part Details tab (see Part Details and Assembly Details Tabs), to review all the data associated to the costing of the board, including numerical values and define where they originate. You can choose also to add, modify, and refine these values.
- Use the Cost Summary tab (see Cost Summary Tab) to view the impacts of any changes made on the fully burdened and total capital investment costs.