Add or Modify a Material Stock
Follow these steps to add or modify a stock using the Digital Factory Manager GUI. See also Add or Modify Material Stocks Using a Spreadsheet.
-
Open the Digital Factory to which you want to add a material stock.
The Digital Factory is displayed in the aPriori Digital Factory Manager. For more information, see Opening a Digital Factory.
-
Expand the process group to which you want to add a material stock.
Material stocks are available only for certain process groups, including Bar & Tube, Forging, Sheet Metal, and Stock Machining.
-
Expand the Materials folder.
-
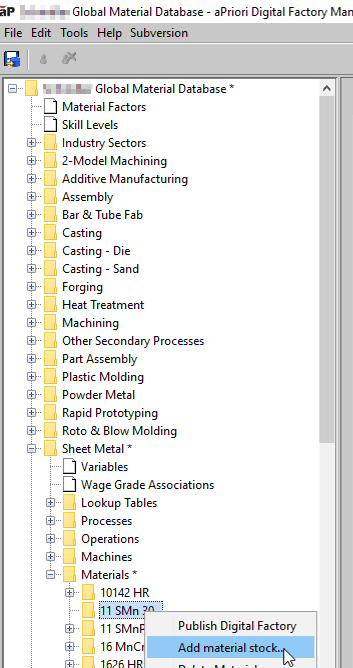
If the material currently has no stocks, right-click the material and select Add material stock from the context menu to display the New Material Stock window. Go to step 7.
-
Expand the folder for the material to which you want to add a stock. Expand the folder for the stock form you want to add, if applicable.
- Right-click a current stock size and select Add material stock from the context menu to display the New Material Stock window.
-
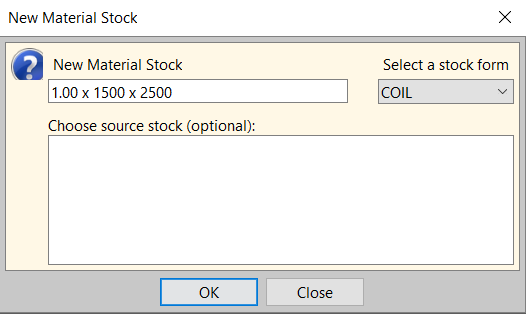
Enter a name for the material stock.
-
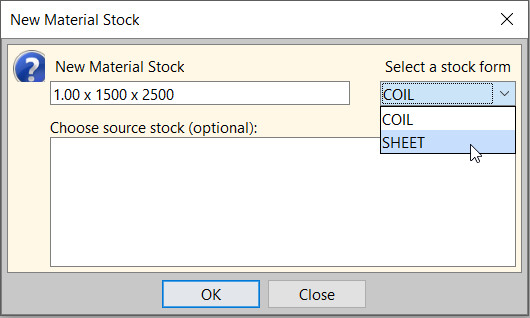
Select a stock form if applicable, and click OK.
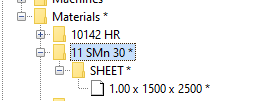
This adds the new material stock as a new file in the Navigation pane and as a new row in the Materials table in the Data pane.
-
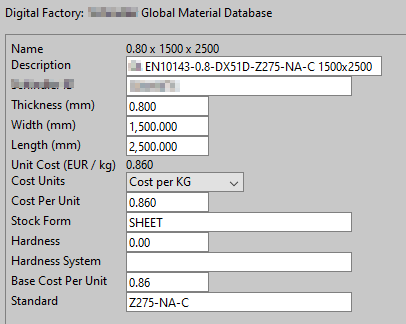
Enter data directly in the Material Stocks table cells or click the material stock in the Navigation pane to enter the values in fields.
If you are editing directly in the table, you can click
 to expand a column and display its sub-columns. Click
  to collapse the sub-columns.
As you edit, an asterisk (*) appears next to the file in the Navigation pane and next to the row to indicate that there are unsaved changes.