Managing deployments as a system administrator
When a new deployment is created, a system administrator specifies the Digital Factory Schema and the Component Schemas for the deployment. These are database schemas in MySQL or Oracle and are defined using the same fields that are used during installation. These schemas can use the same connection as the Master Database Connection, or can be entirely different schemas, perhaps stored on a different database.
When a user is accessing a deployment, that user will access License data, Digital Factory data, and Component data, but this data may reside in different locations.
- License Data: The user login details are always verified using the master database connection specified in
hibernate.properties. - Digital Factory Data: The Digital Factories that a user can access are stored in the schema defined by the Digital Factory Schema in the deployment that they are using. If this is not otherwise specified, then the master database connection is used.
- Component Data: The component data that a user can access are stored in the schema defined by the Component Schema in the deployment that they are using. If this is not otherwise specified, then the master database connection is used.
The deployments that an individual user can access are controlled by the aPriori System Administrator. Deployments can therefore be created to contain information which is specific to a particular group of users, and access to that deployment can be restricted so that only those users can access that deployment.
View the deployments
- From the aPriori client, click Tools > System Admin Toolset.
-
When the aPriori System Admin Toolset window opens, click the System Administrator button. In the resulting aPriori System Administrator window, the deployments you have are listed in the left column.
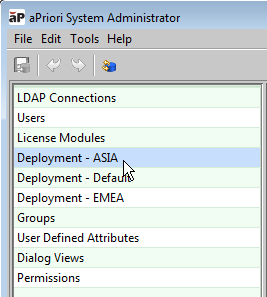
-
Select a deployment to display its detailed properties.
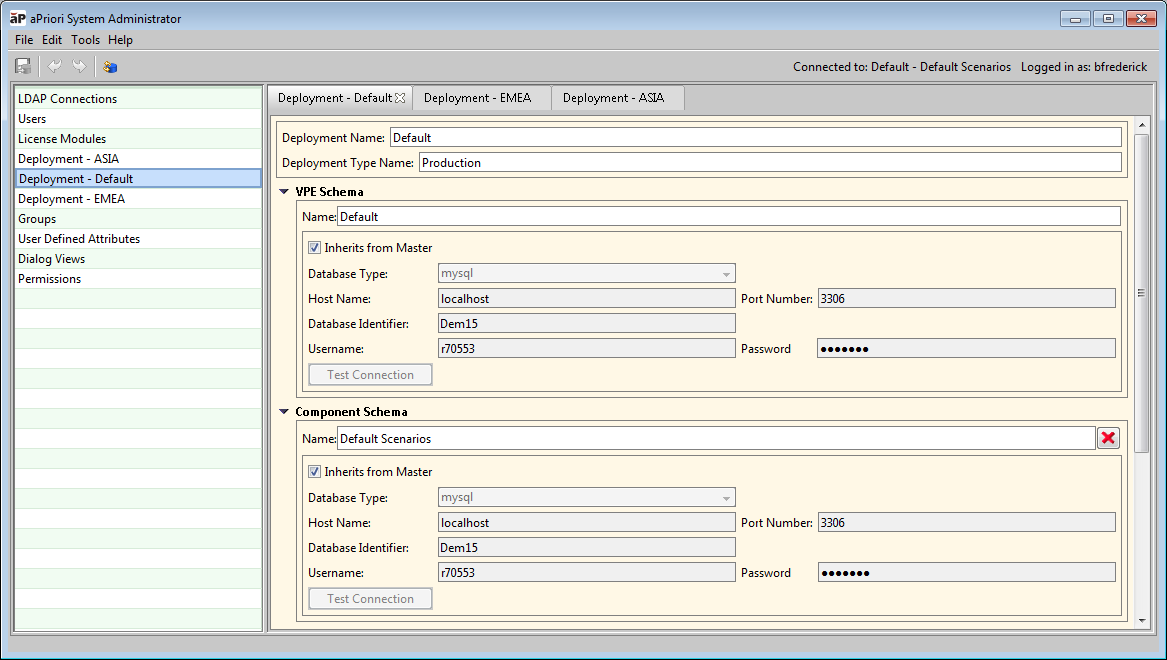
Create a new deployment
- From the aPriori client, click Tools > System Admin Toolset.
- When the aPriori System Admin Toolset window opens, click the System Administrator button.
- In the resulting aPriori System Administrator window click File > Create Deployment aPriori creates and publishes the new schema with default values and displays the details in the right panel.
- Edit the properties as necessary and click the Publish Changes button (
 ) When you finish. See the following section (Editing deployment settings) for more information.