Edit a Process Routing
A process routing describes a set of processes needed to manufacture a component; for example, Cut-to-Length > Laser Cut > Bend Brake. Multiple routings may be available for each component, reflecting multiple alternative and optional processes.
For information on the routings available for a specific process group, see the Cost Model Guide.
aP Pro evaluates feasibility and cost of available routing options and auto-selects the best routing for the component.
You can use the Routing Selection window to override this default, and apply an alternative routing manually, and edit routing options, using :
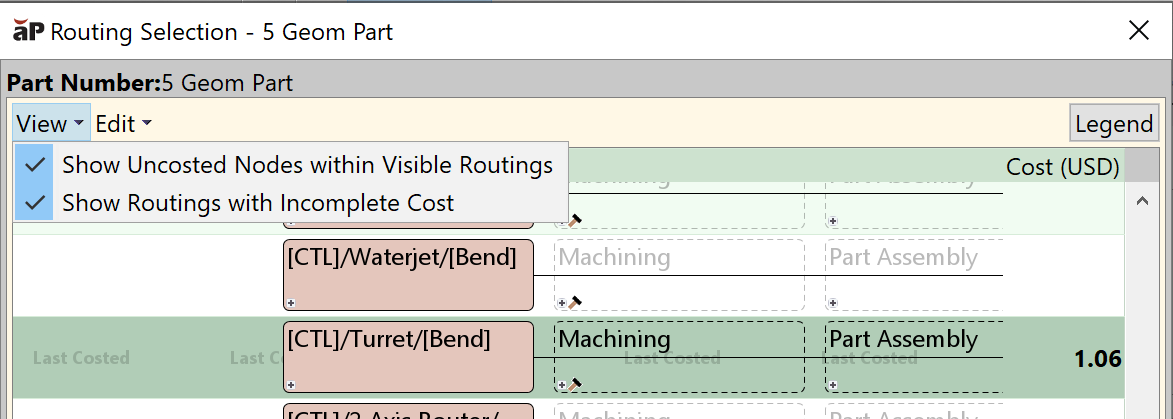
See Select and Edit a Routing.
Tip:
You can also select and edit a routing before initial cost analysis, using the Cost Guide - see Production Scenario: Tab Basic options.
Tip:
Once you know the appropriate process routing, selecting it manually can reduce analysis time by preventing aPriori from evaluating multiple candidate routings. But note that overriding aPriori defaults (for example, with a process setup option) can sometimes change which routing is appropriate for the current scenario.
Routing Selection Menu Options
View Options
The View menu gives you the following options:
- Show Routings with Incomplete Cost : displays routings that costed with warnings and available routings that were not costed, as well as the routings that were costed without warnings.
- Show Uncosted Processes within Visible Routings: displays all uncosted nodes within the routing. A node might be uncosted if the process it is representing is not required for manufacturing the component or has been manually excluded from the routing.
If both options are unchecked, only the routings that have been costed without warnings are displayed.
Edit Options
The Edit menu gives you the following options:
- Customize Routing: Create a custom routing for a component by inserting additional processes (including custom processes), reordering processes, and excluding processes. See Create Custom Routings.
- Create Custom Process...: You can create a custom process, provide inputs by using the process setup options and add the custom process into a routing. See Create a Custom Process.
View Node Types
Click the Legend button to display the explanatory list of node types.
| Icon | Description |
|---|---|
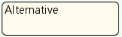 |
A beige background indicates that this node represents a choice between two or more alternative processes. Selecting a row that contains this type of node causes the system to auto-select between the underlying alternative processes. |
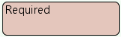 |
A solid border indicates that this node is marked as required. A feasibility rule failure at one of these nodes an entire routing alternative to fail. |
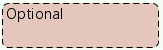 |
A dashed border indicates that this node is marked as optional. It may be included or excluded a right-click menu. |
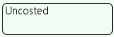 |
A clear background indicates that this node was not evaluated by the system in the last costing event. This is either because of a feasibility rule failure, because the node has been excluded from the routing by a user, or because the node was not required for the manufacturing of the component. |
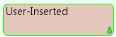 |
A green border and user-override symbol indicate that the routing was customized, and this node was added. It may be removed from the routing right-click menu. |
Node status icons
| Icons | Description |
|---|---|
 |
The node succeeded it passed feasibility evaluation. |
 |
A yellow status icon on a node indicates that the node passed feasibility evaluation but has some uncosted GCDs. Click the icon to see which GCDs failed to cost. A yellow status icon over a GCD icon in the Cost column indicates that this routing, although costed, has some uncosted GCDs associated with it. Hover the cursor over the icon to see what GCDs failed to cost. |
 |
A red status icon indicates that the node failed to cost. Click on the indicator to see why the process failed feasibility evaluation. |
 |
This node has Process Setup Options (PSOs) that can be customized by the user. Click the hammer or right-click the node and select Process Setup Options. |
 |
User override: The routing customized. |
Expandable nodes
Nodes with a plus sign (  ) are expandable. When you click the plus sign, the next level of detail is displayed can expand vertically or horizontally
- Alternative nodes expand vertically displaying two or more new lines underneath the node. Each line represents an alternative routing available for the node. You can select only one routing.
- Conjunctive nodes expand horizontally, displaying all available options in one line underneath the node. You can manually include one or more options into the routing.